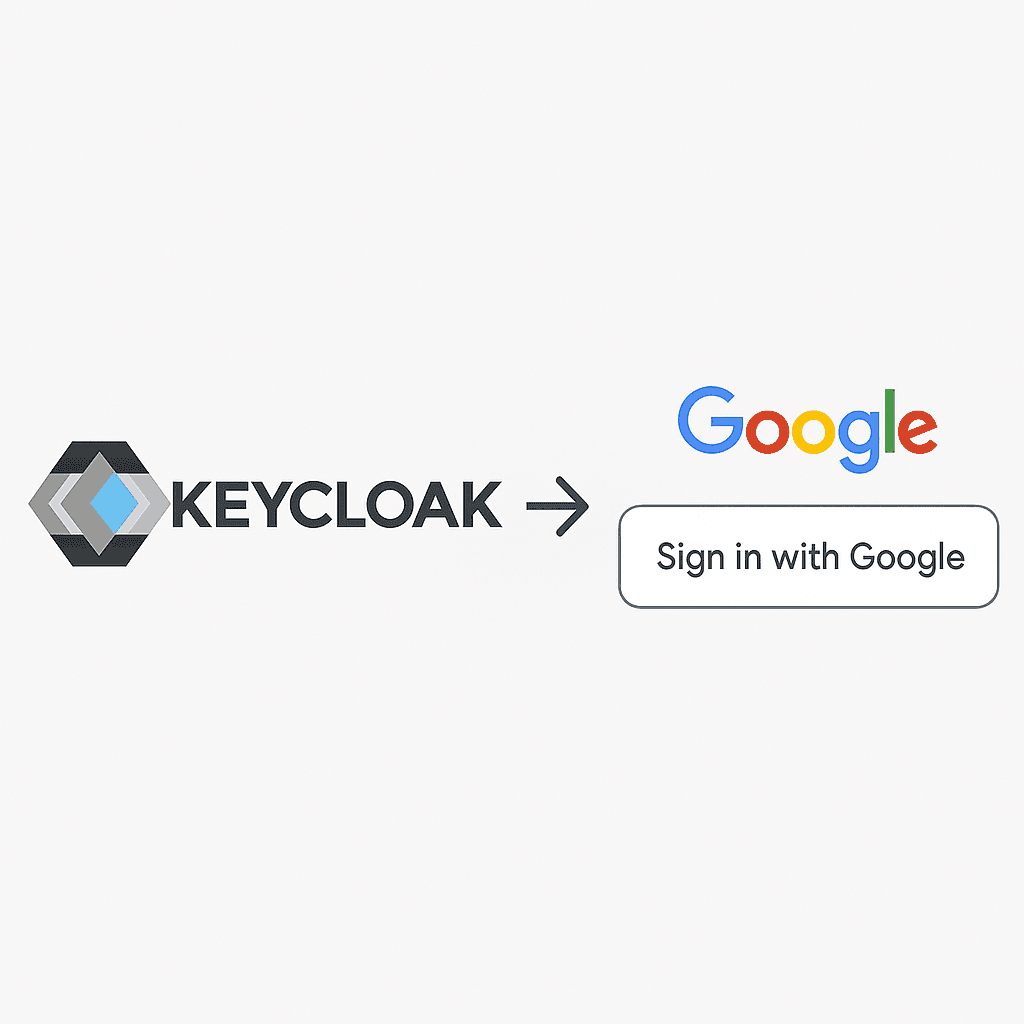
Keycloak with Google Login
by Mohammad Hussain, System Analyst
Introduction:
Keycloak offers a wide range of identity and access management features out of the box, including support for social login through external identity providers. It simplifies authentication and authorization tasks by allowing integrations with services like Google, GitHub, Facebook, and more. In this tutorial, we’ll focus on setting up Google as an identity provider (IDP) in Keycloak and ensuring a seamless sign-in experience for users via their Google accounts.
Prerequisites
Before getting started, make sure you have:
- A Keycloak server up and running (either locally or deployed).
- Admin access to the Keycloak admin console.
- Access to a Google Cloud account for setting up credentials.
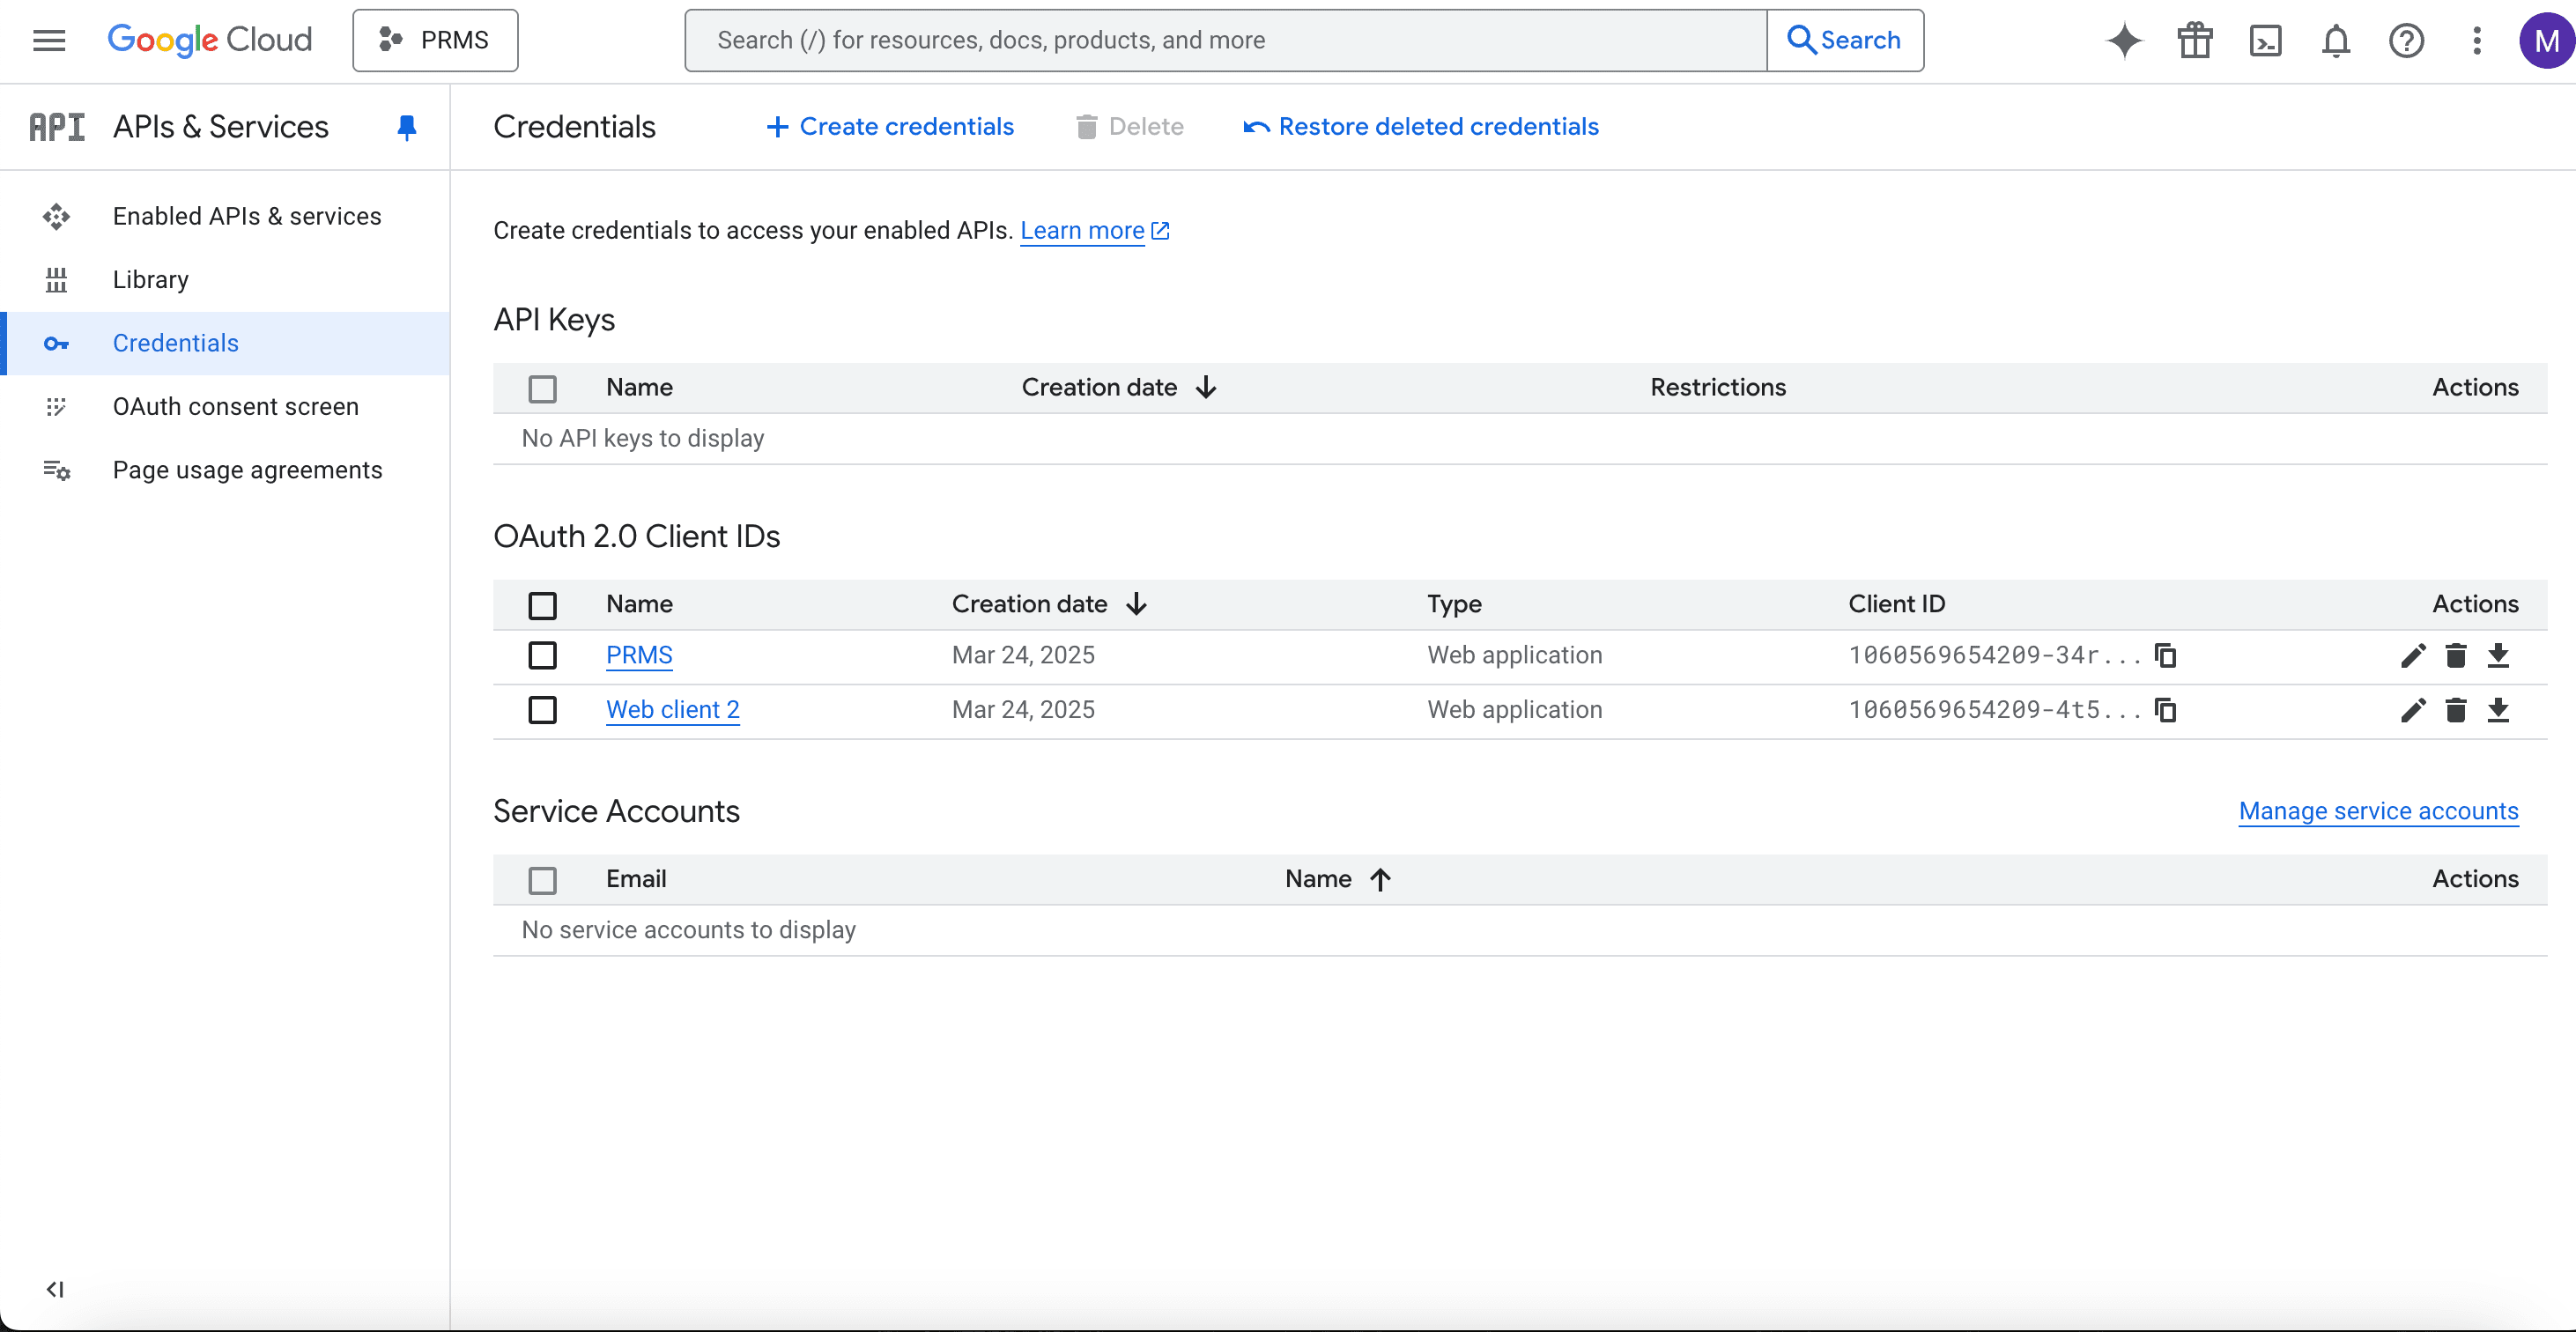
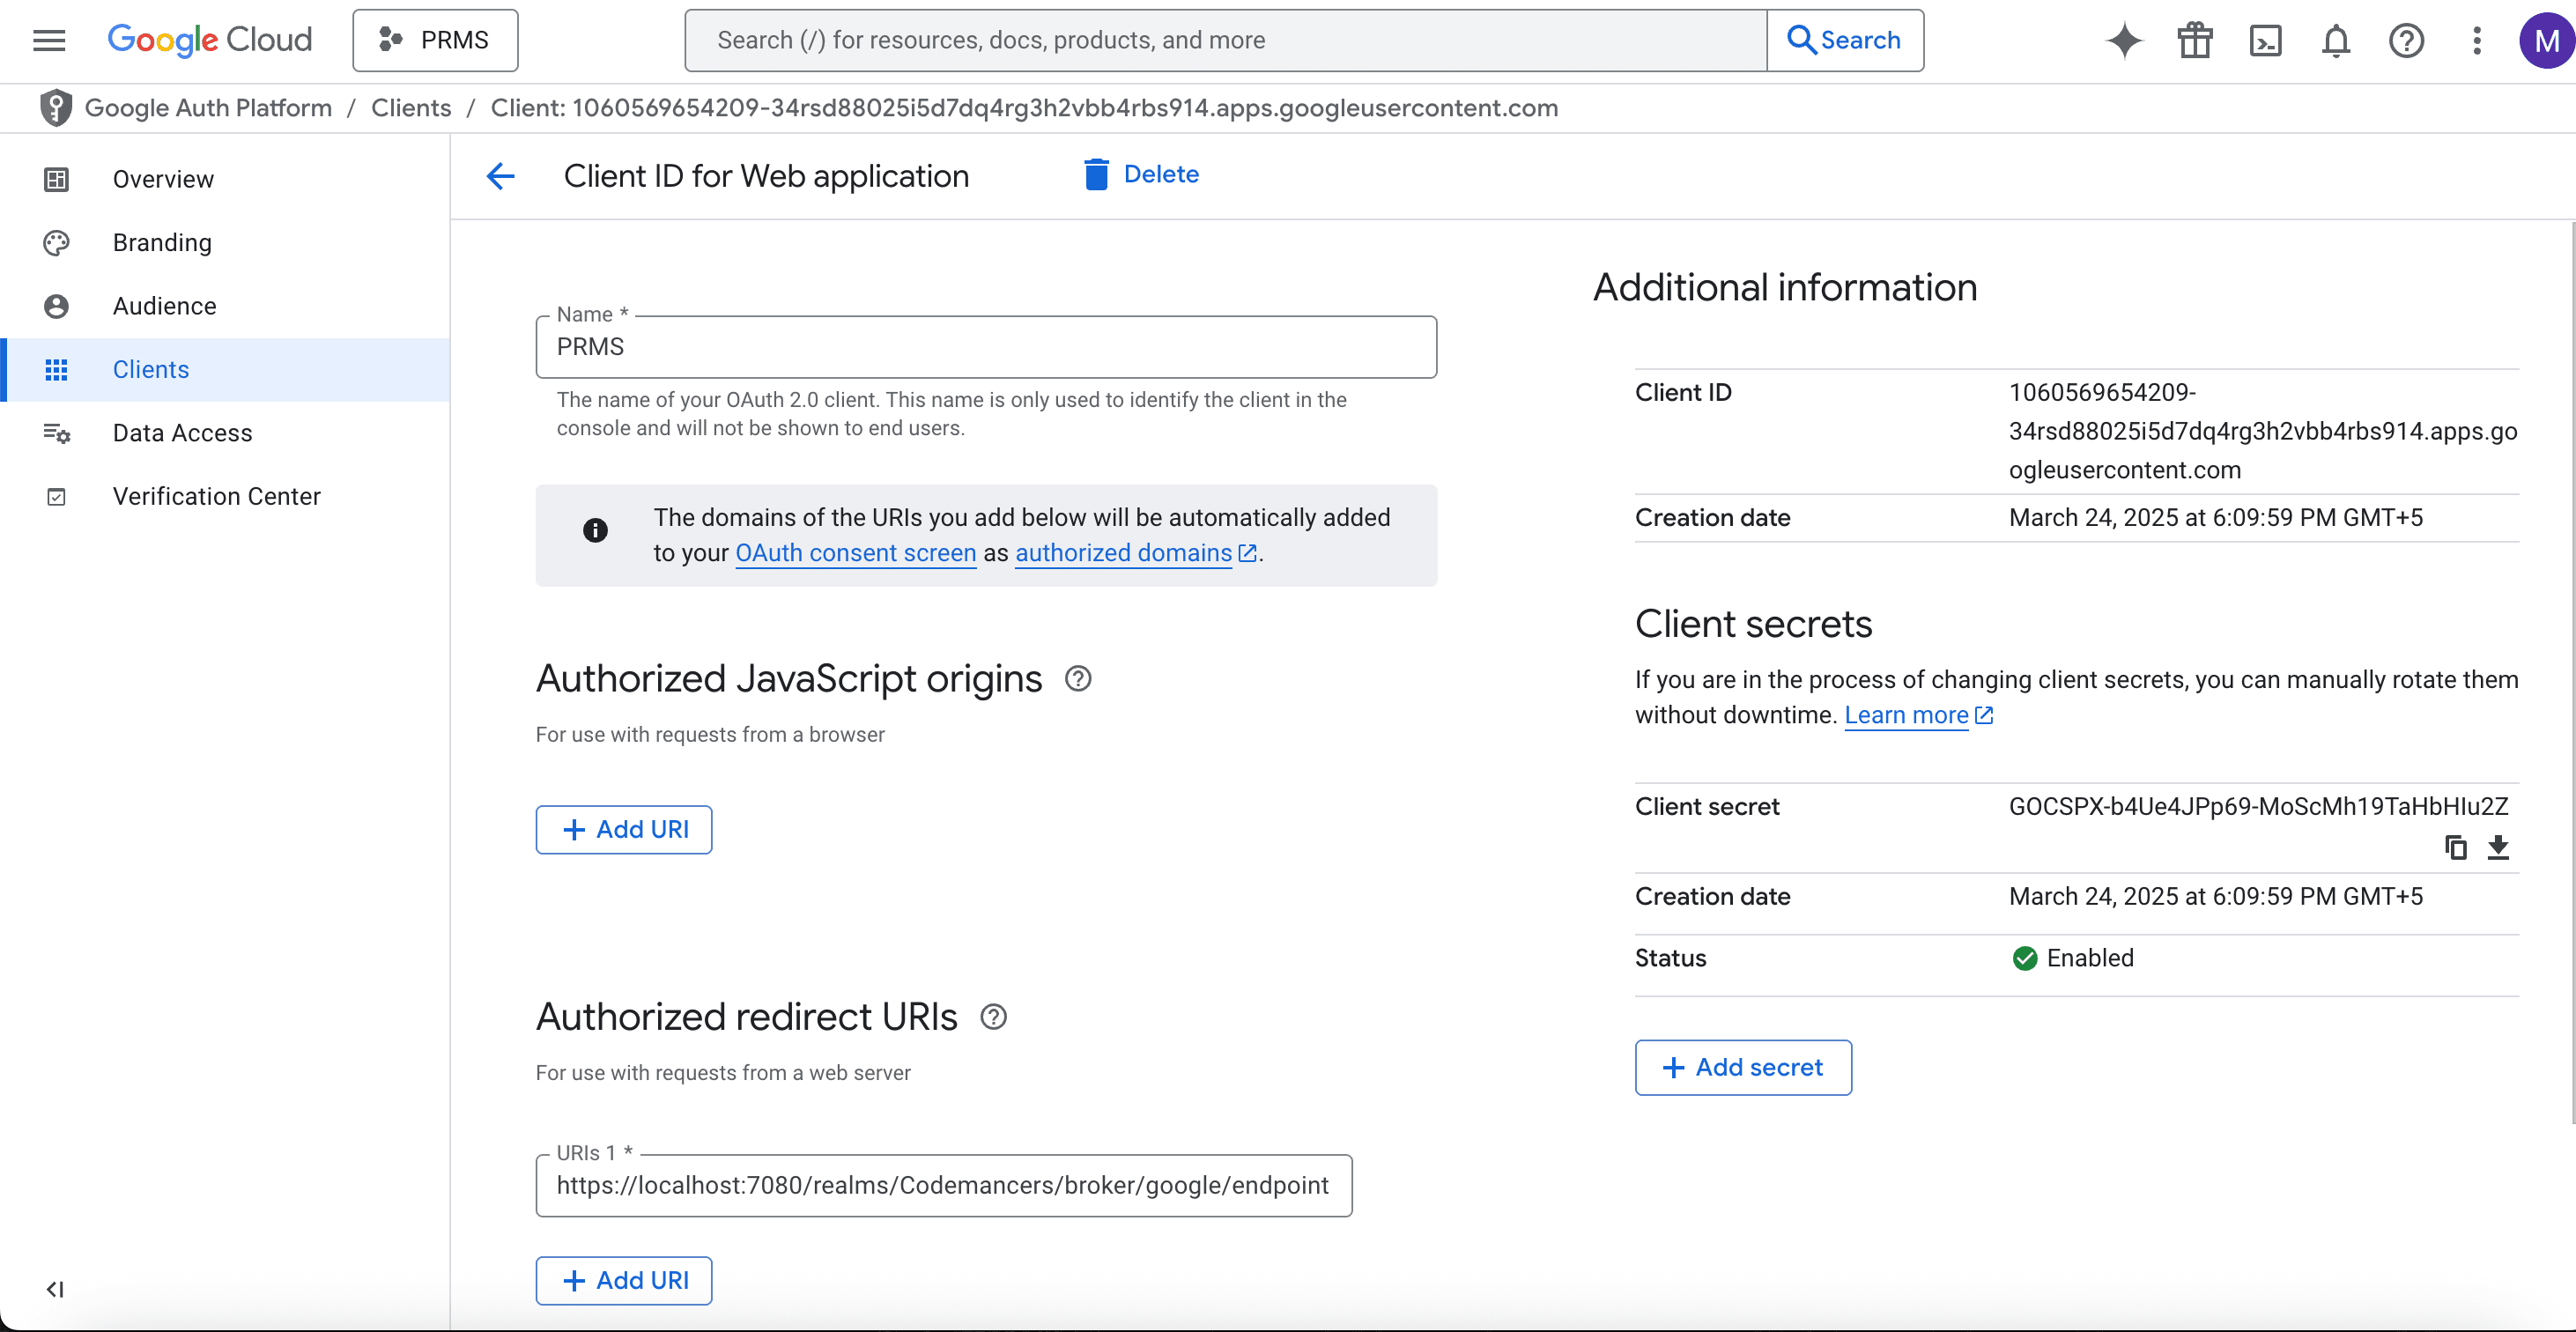
Step 1: Create Google Credentials
To connect Google with Keycloak, you need to generate OAuth 2.0 credentials.
- Head over to the Google Cloud Console.
- Navigate to API & Services > Credentials.
- Click Create Credentials and choose OAuth Client ID.
- Select Web Application as the application type and click Create.
- You’ll be presented with a Client ID and Client Secret. Copy both—these will be used in the Keycloak setup.
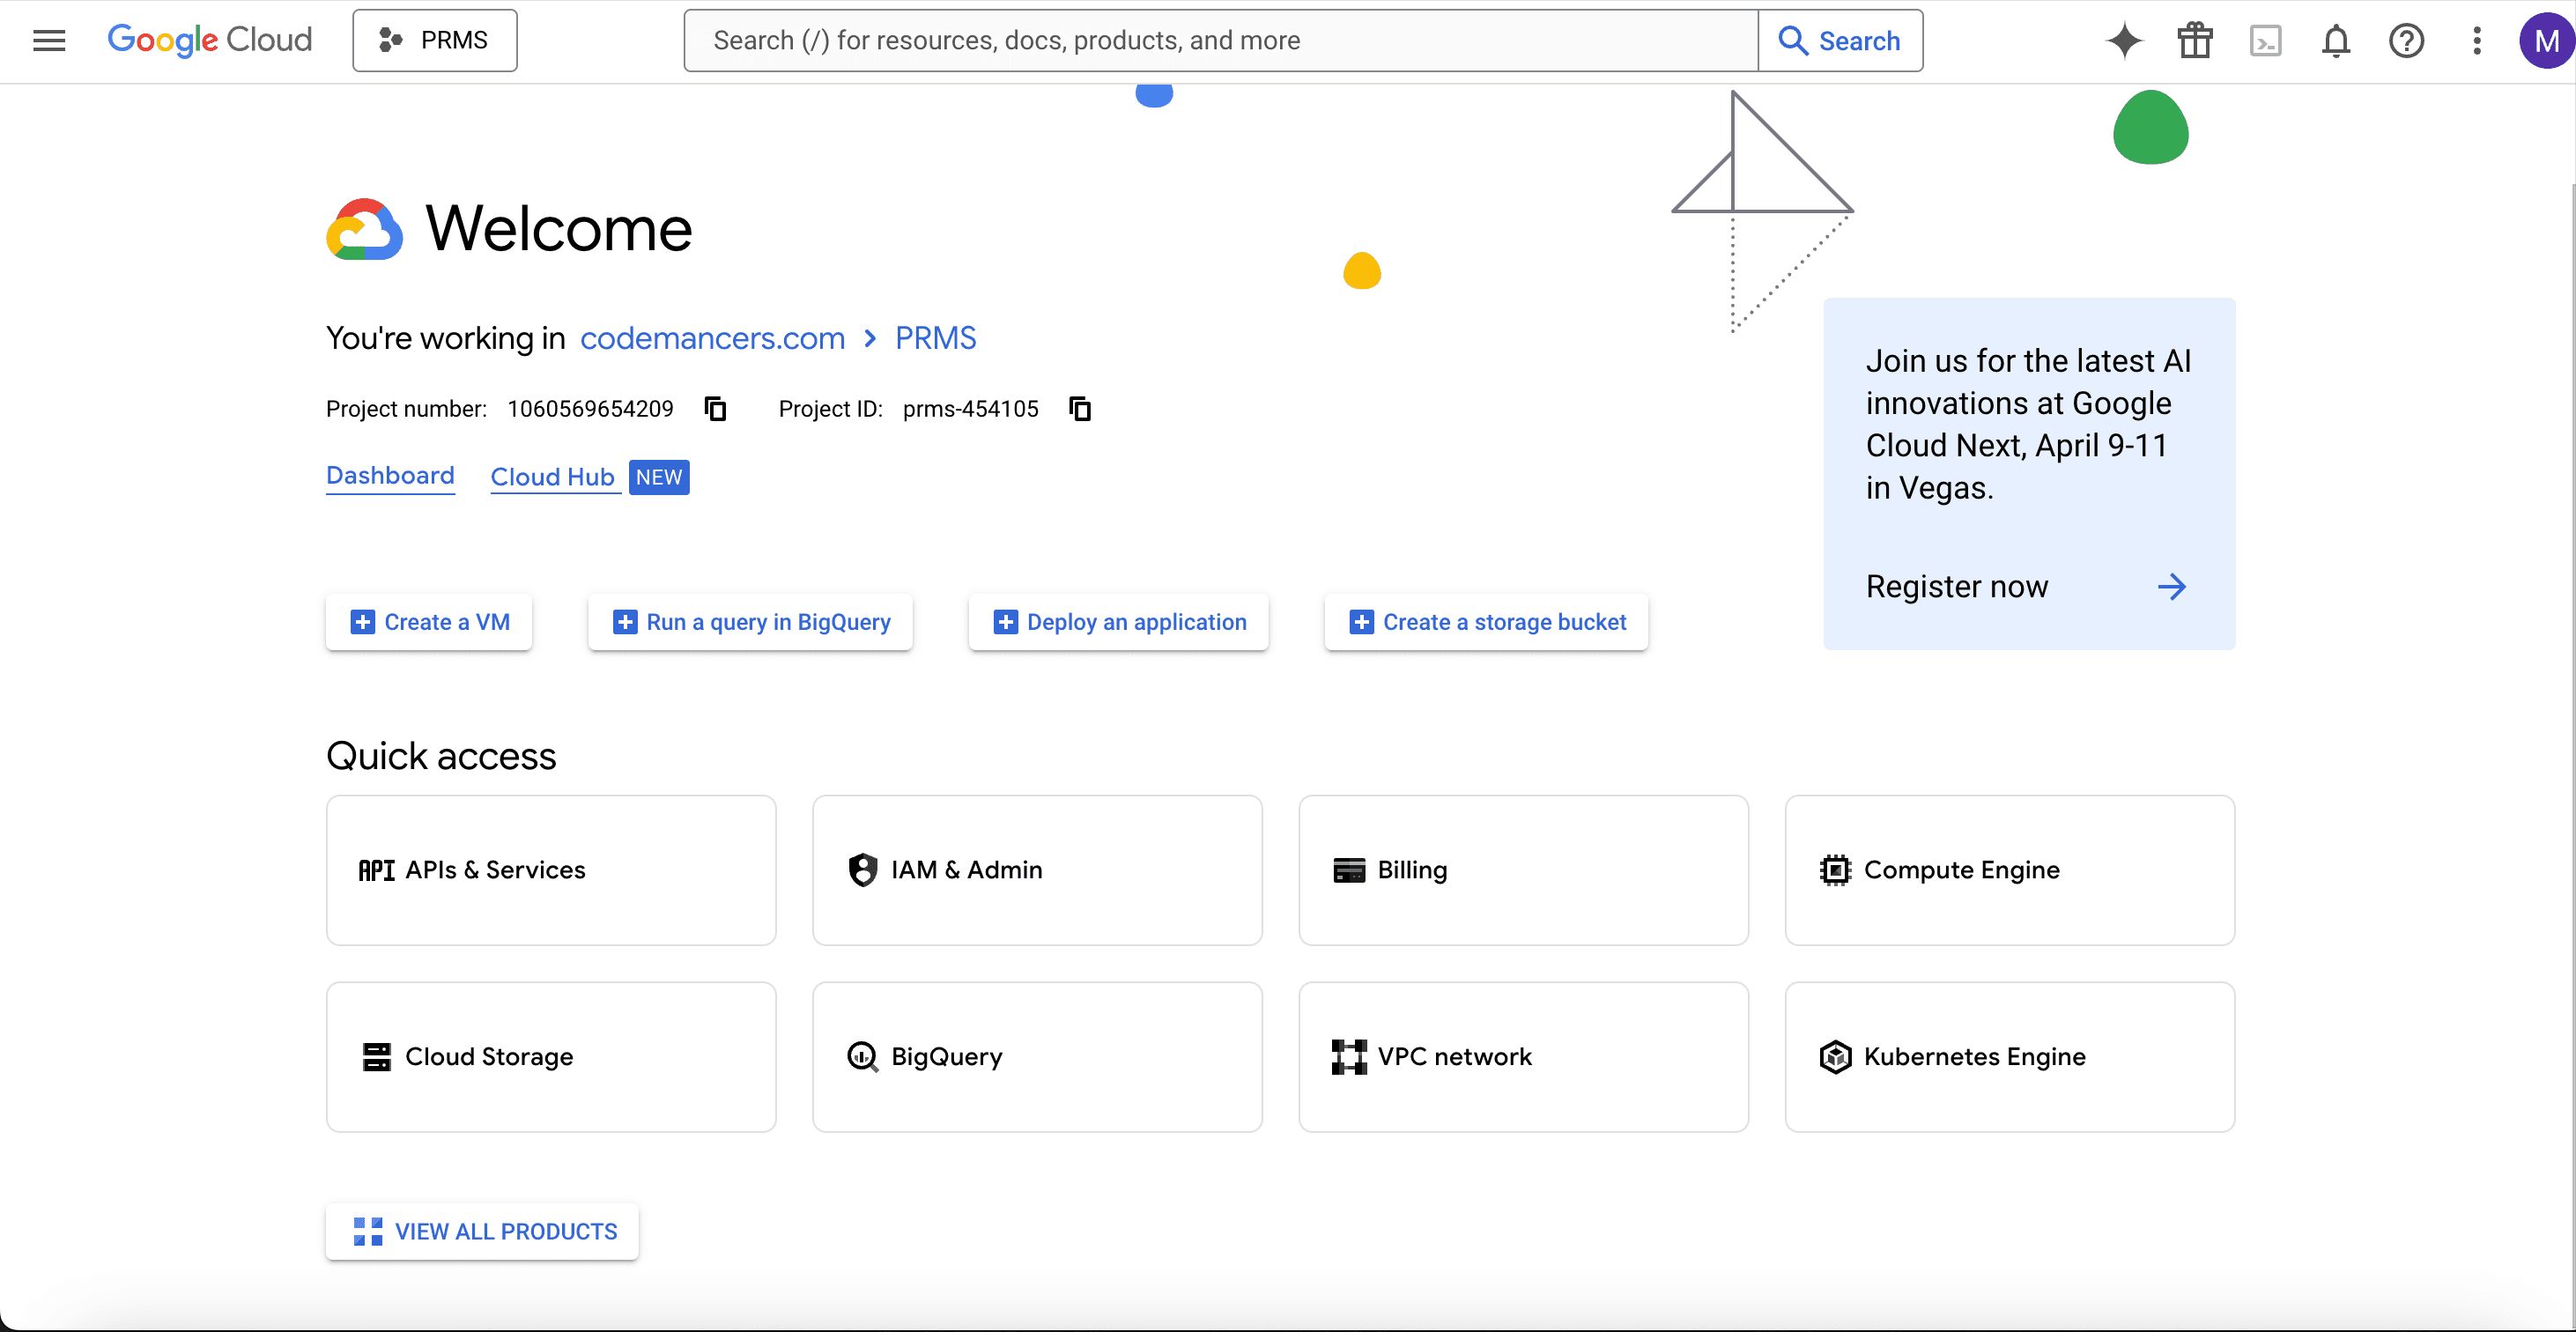
You’ll land on the dashboard where your projects are listed. In this example, there’s already a project named “PRMS”. If you're setting this up for the first time, you can create a new project by clicking on the dropdown and selecting New Project.
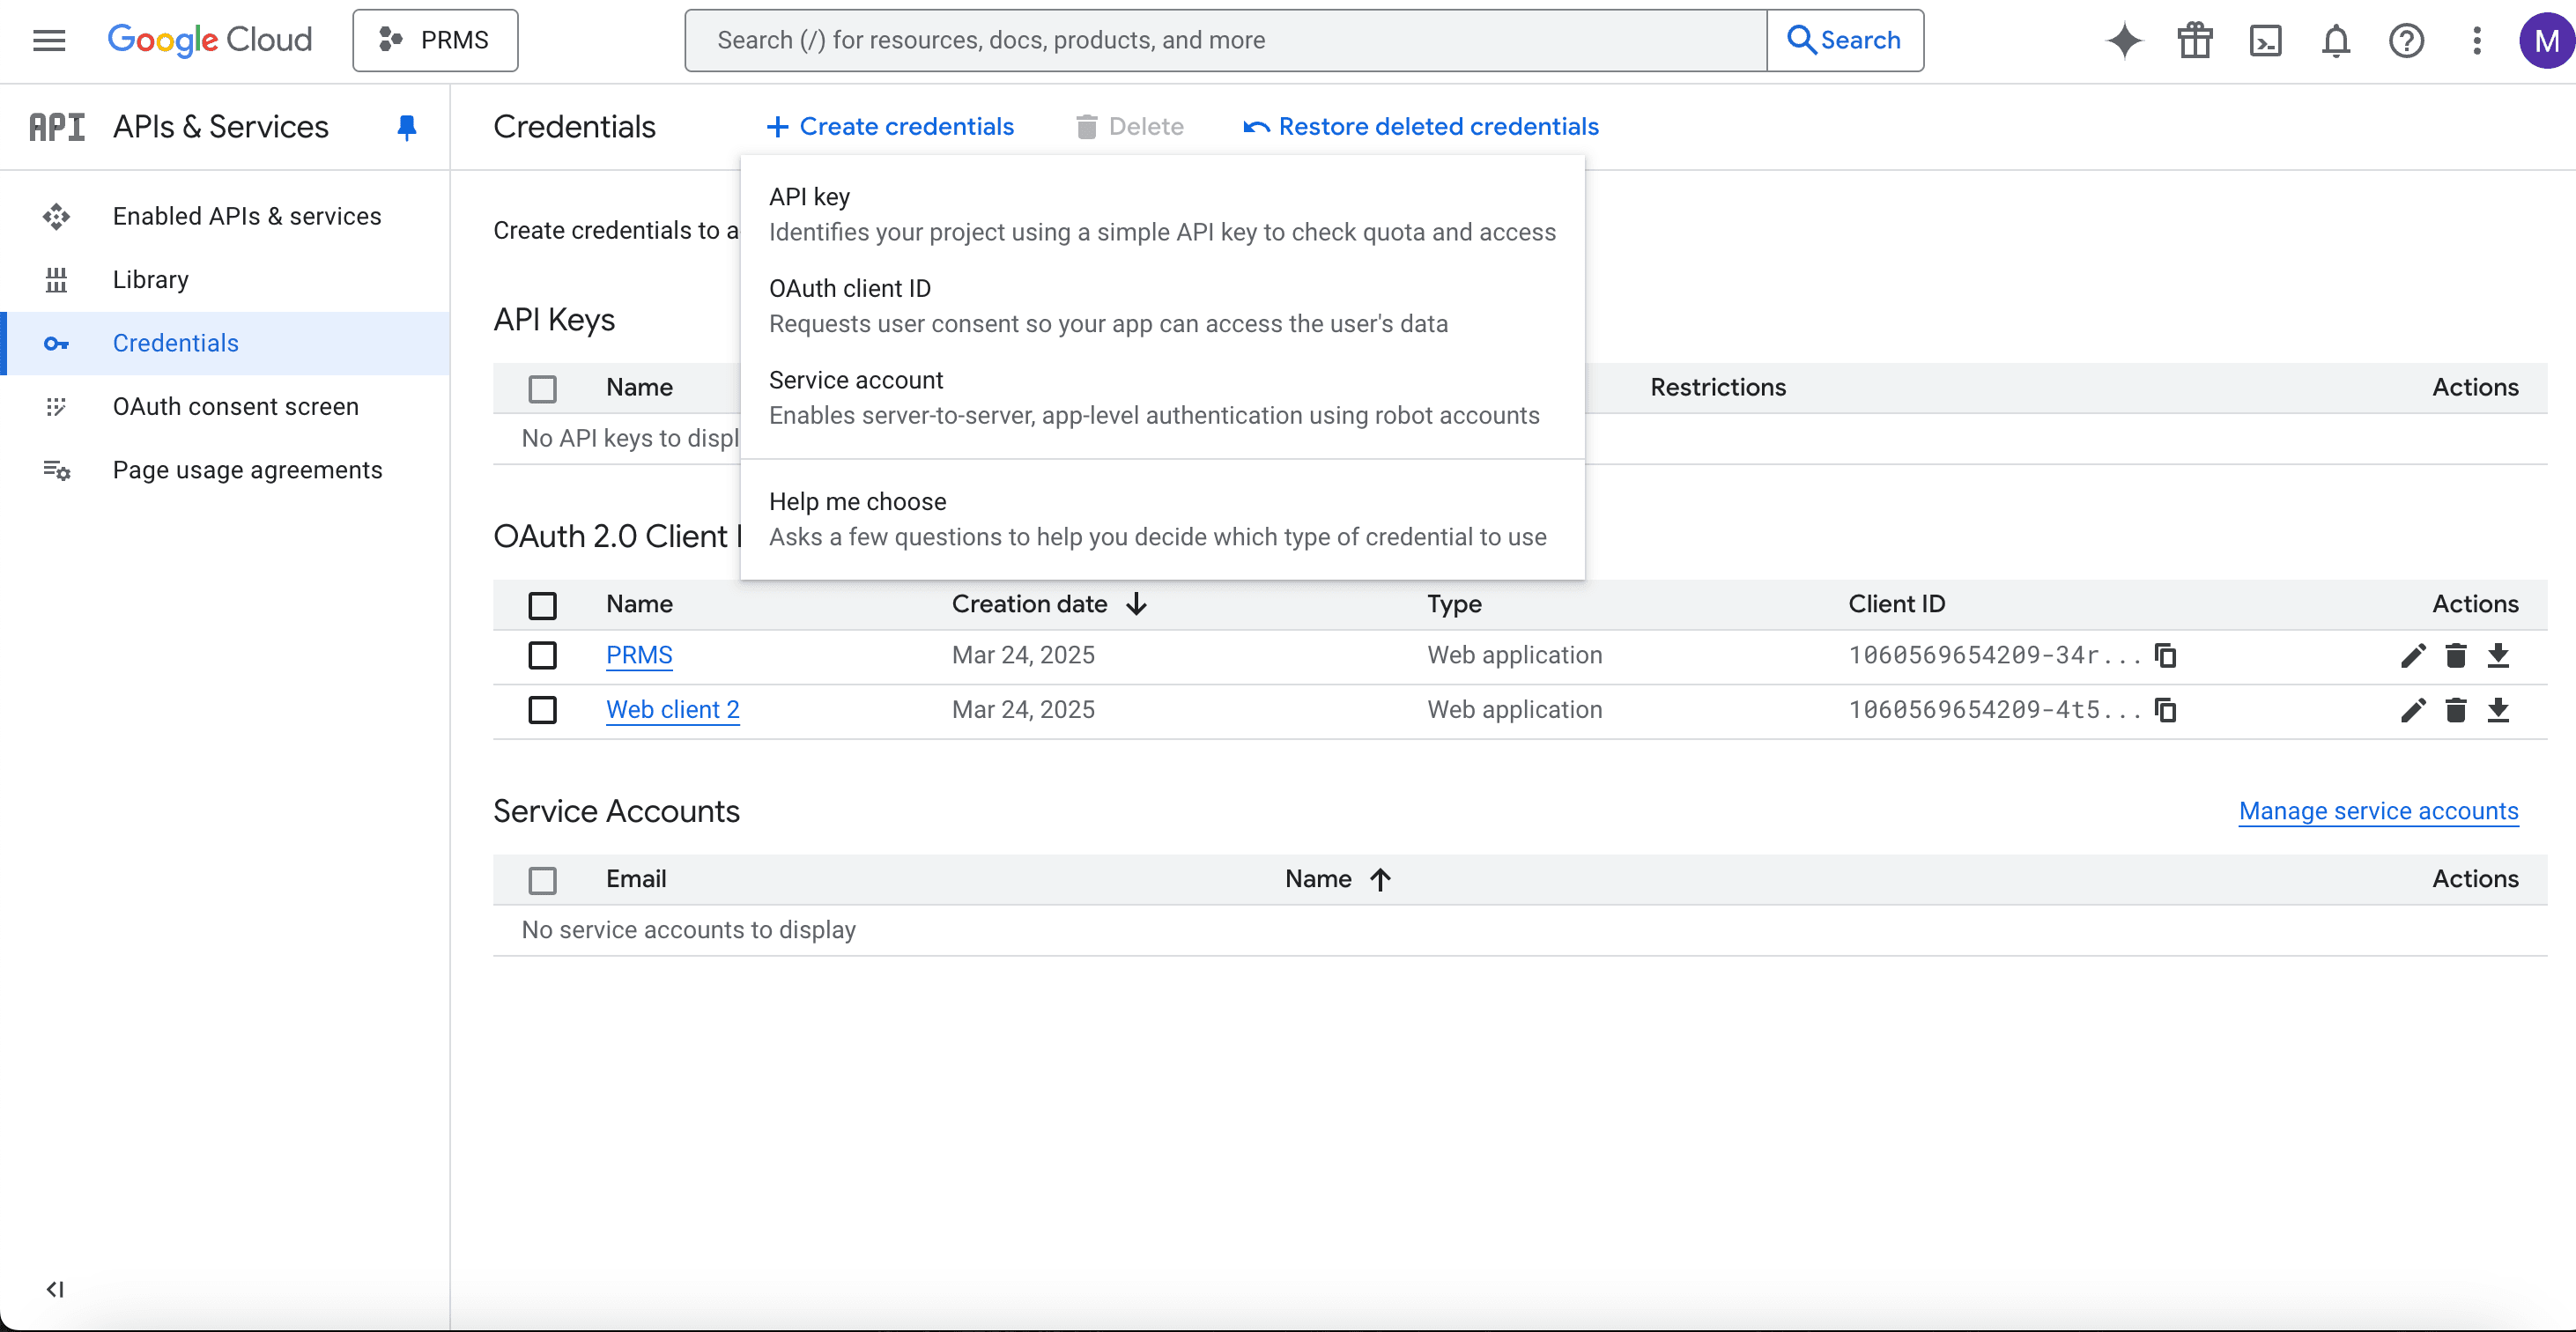
Under Credentials, click on Create Credentials and select OAuth Client ID.

Choose Web Application, give it a name (e.g., "Keycloak Integration"), and proceed to create it. You’ll now get the Client ID and Secret—keep these safe for the next step.
Step 2: Configure Google as an Identity Provider in Keycloak
Now let’s integrate these credentials into Keycloak.
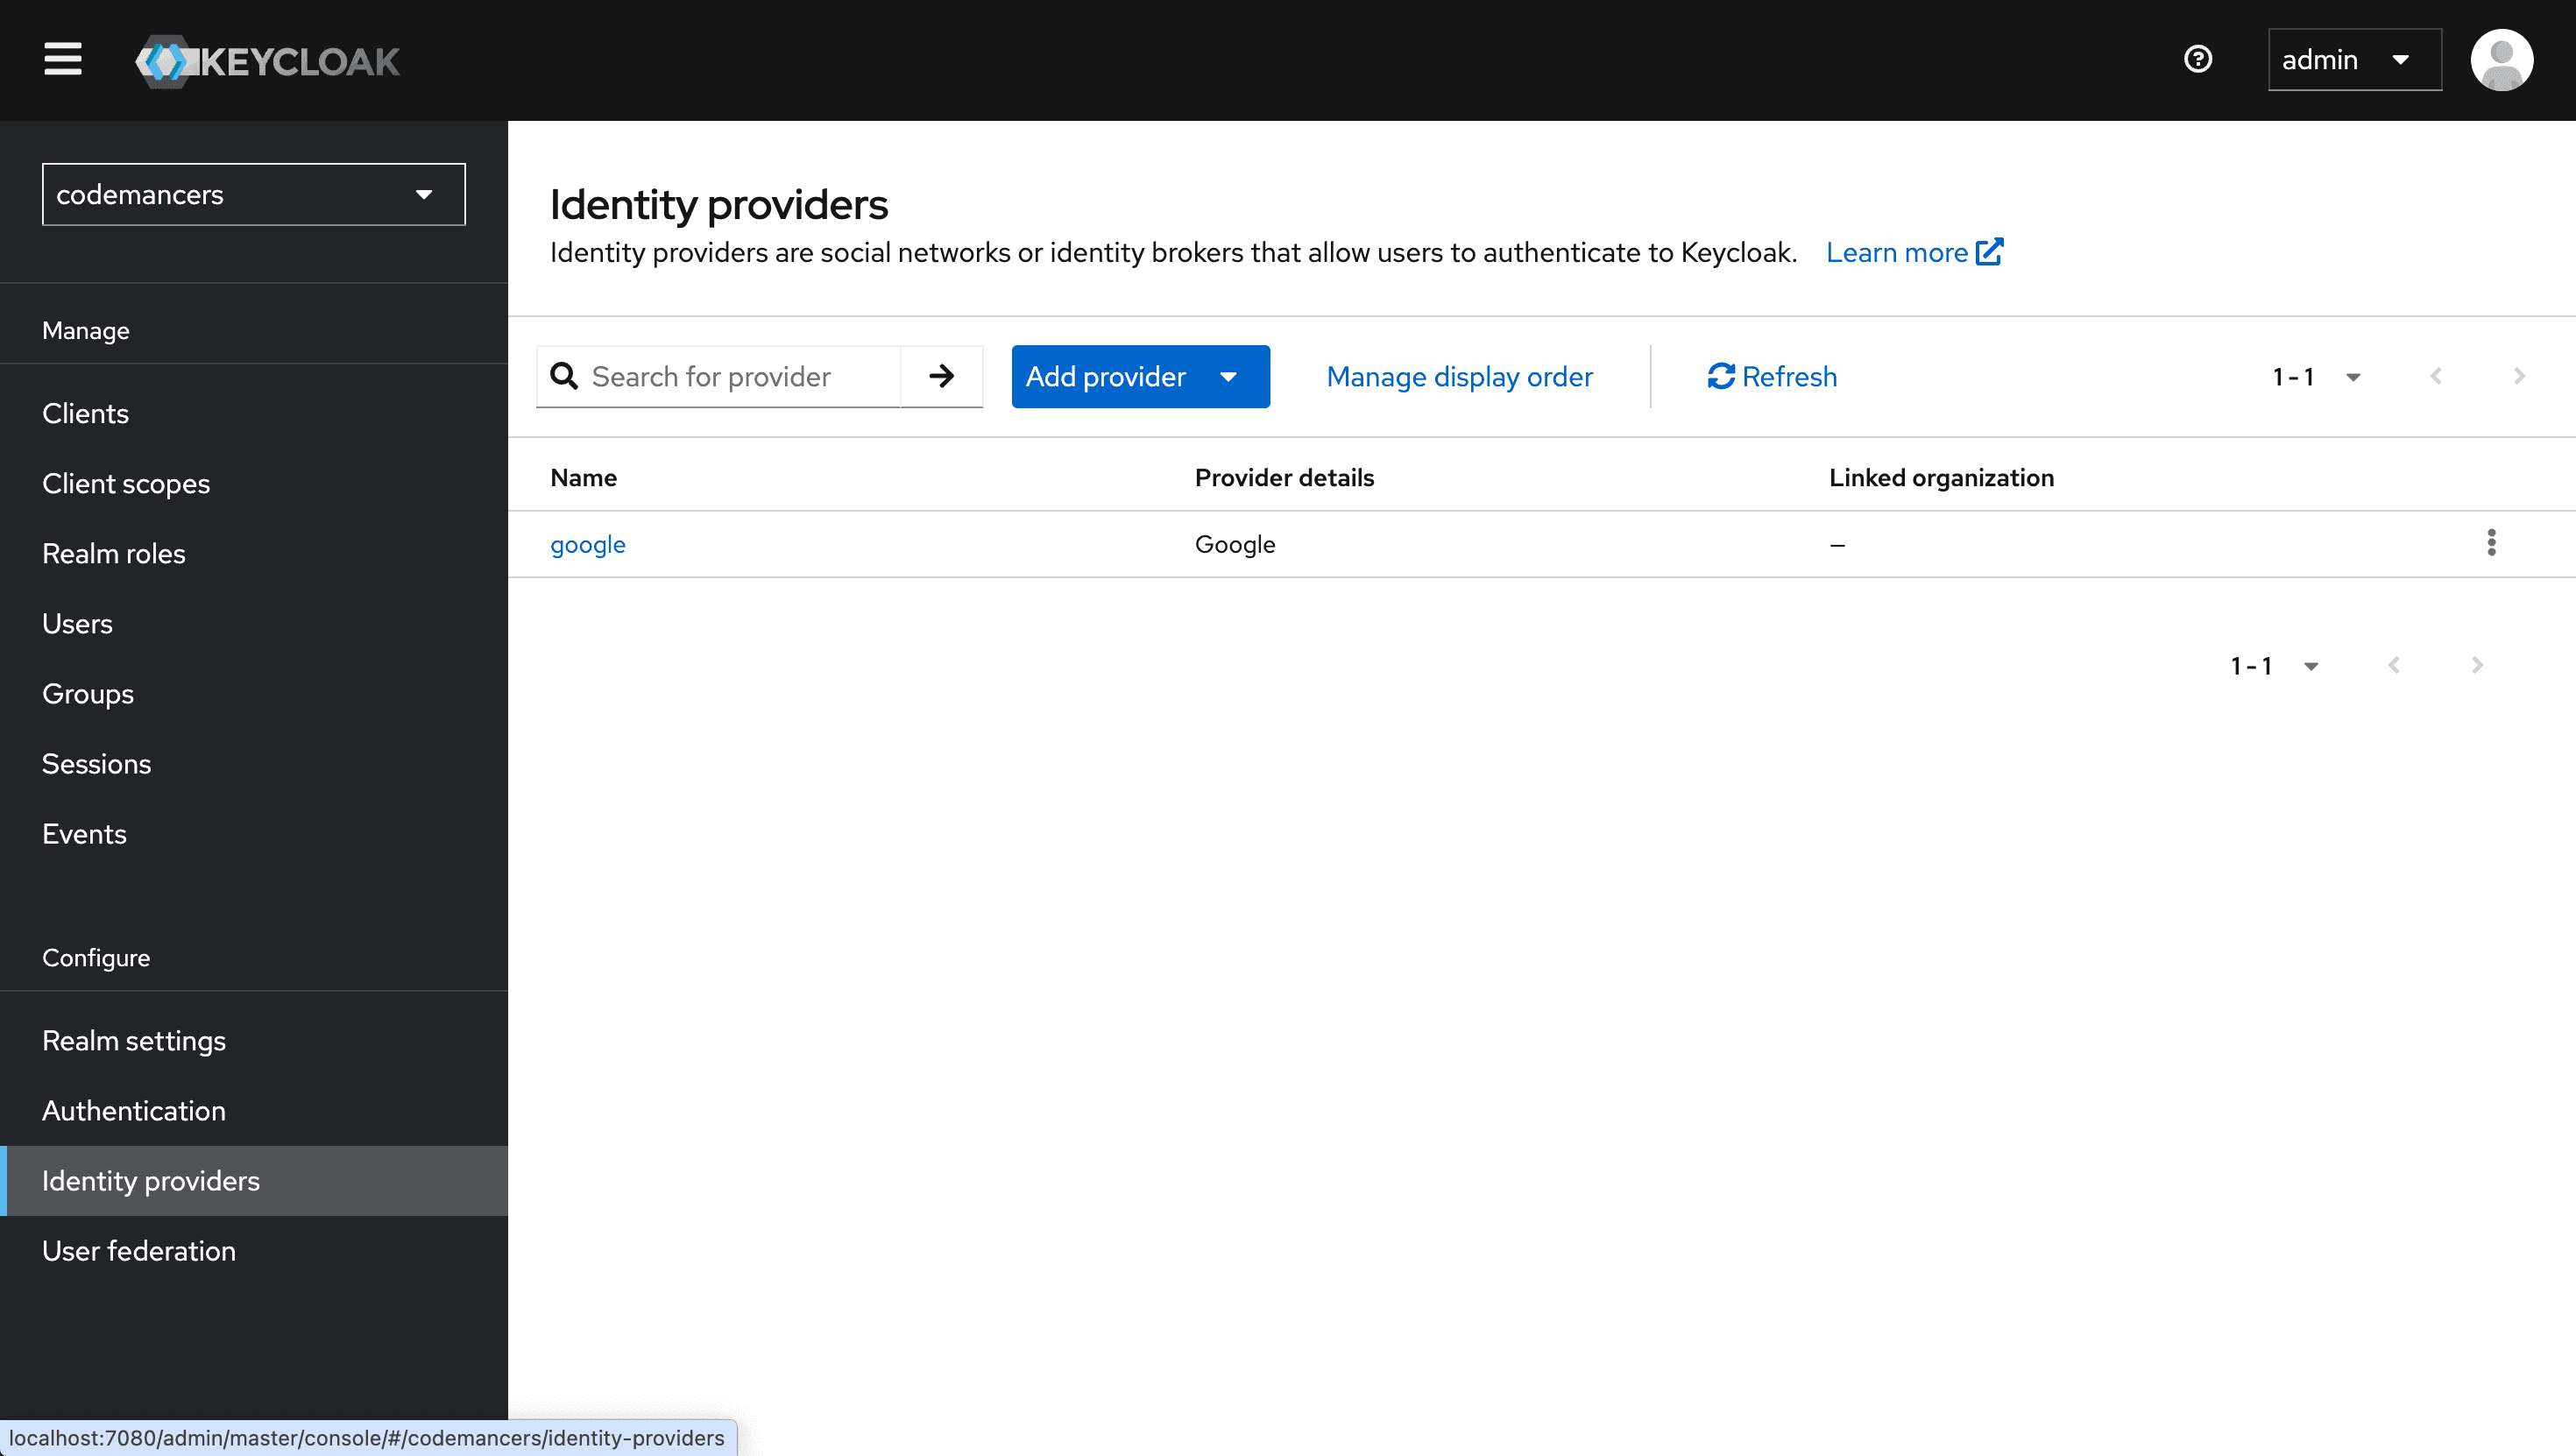
Inside your Keycloak Admin Console:
- Switch to the realm where you want to configure the Identity Provider (IDP).
- Go to the Identity Providers section from the left-hand menu.
- Click Add Provider and select Google from the list of available providers.
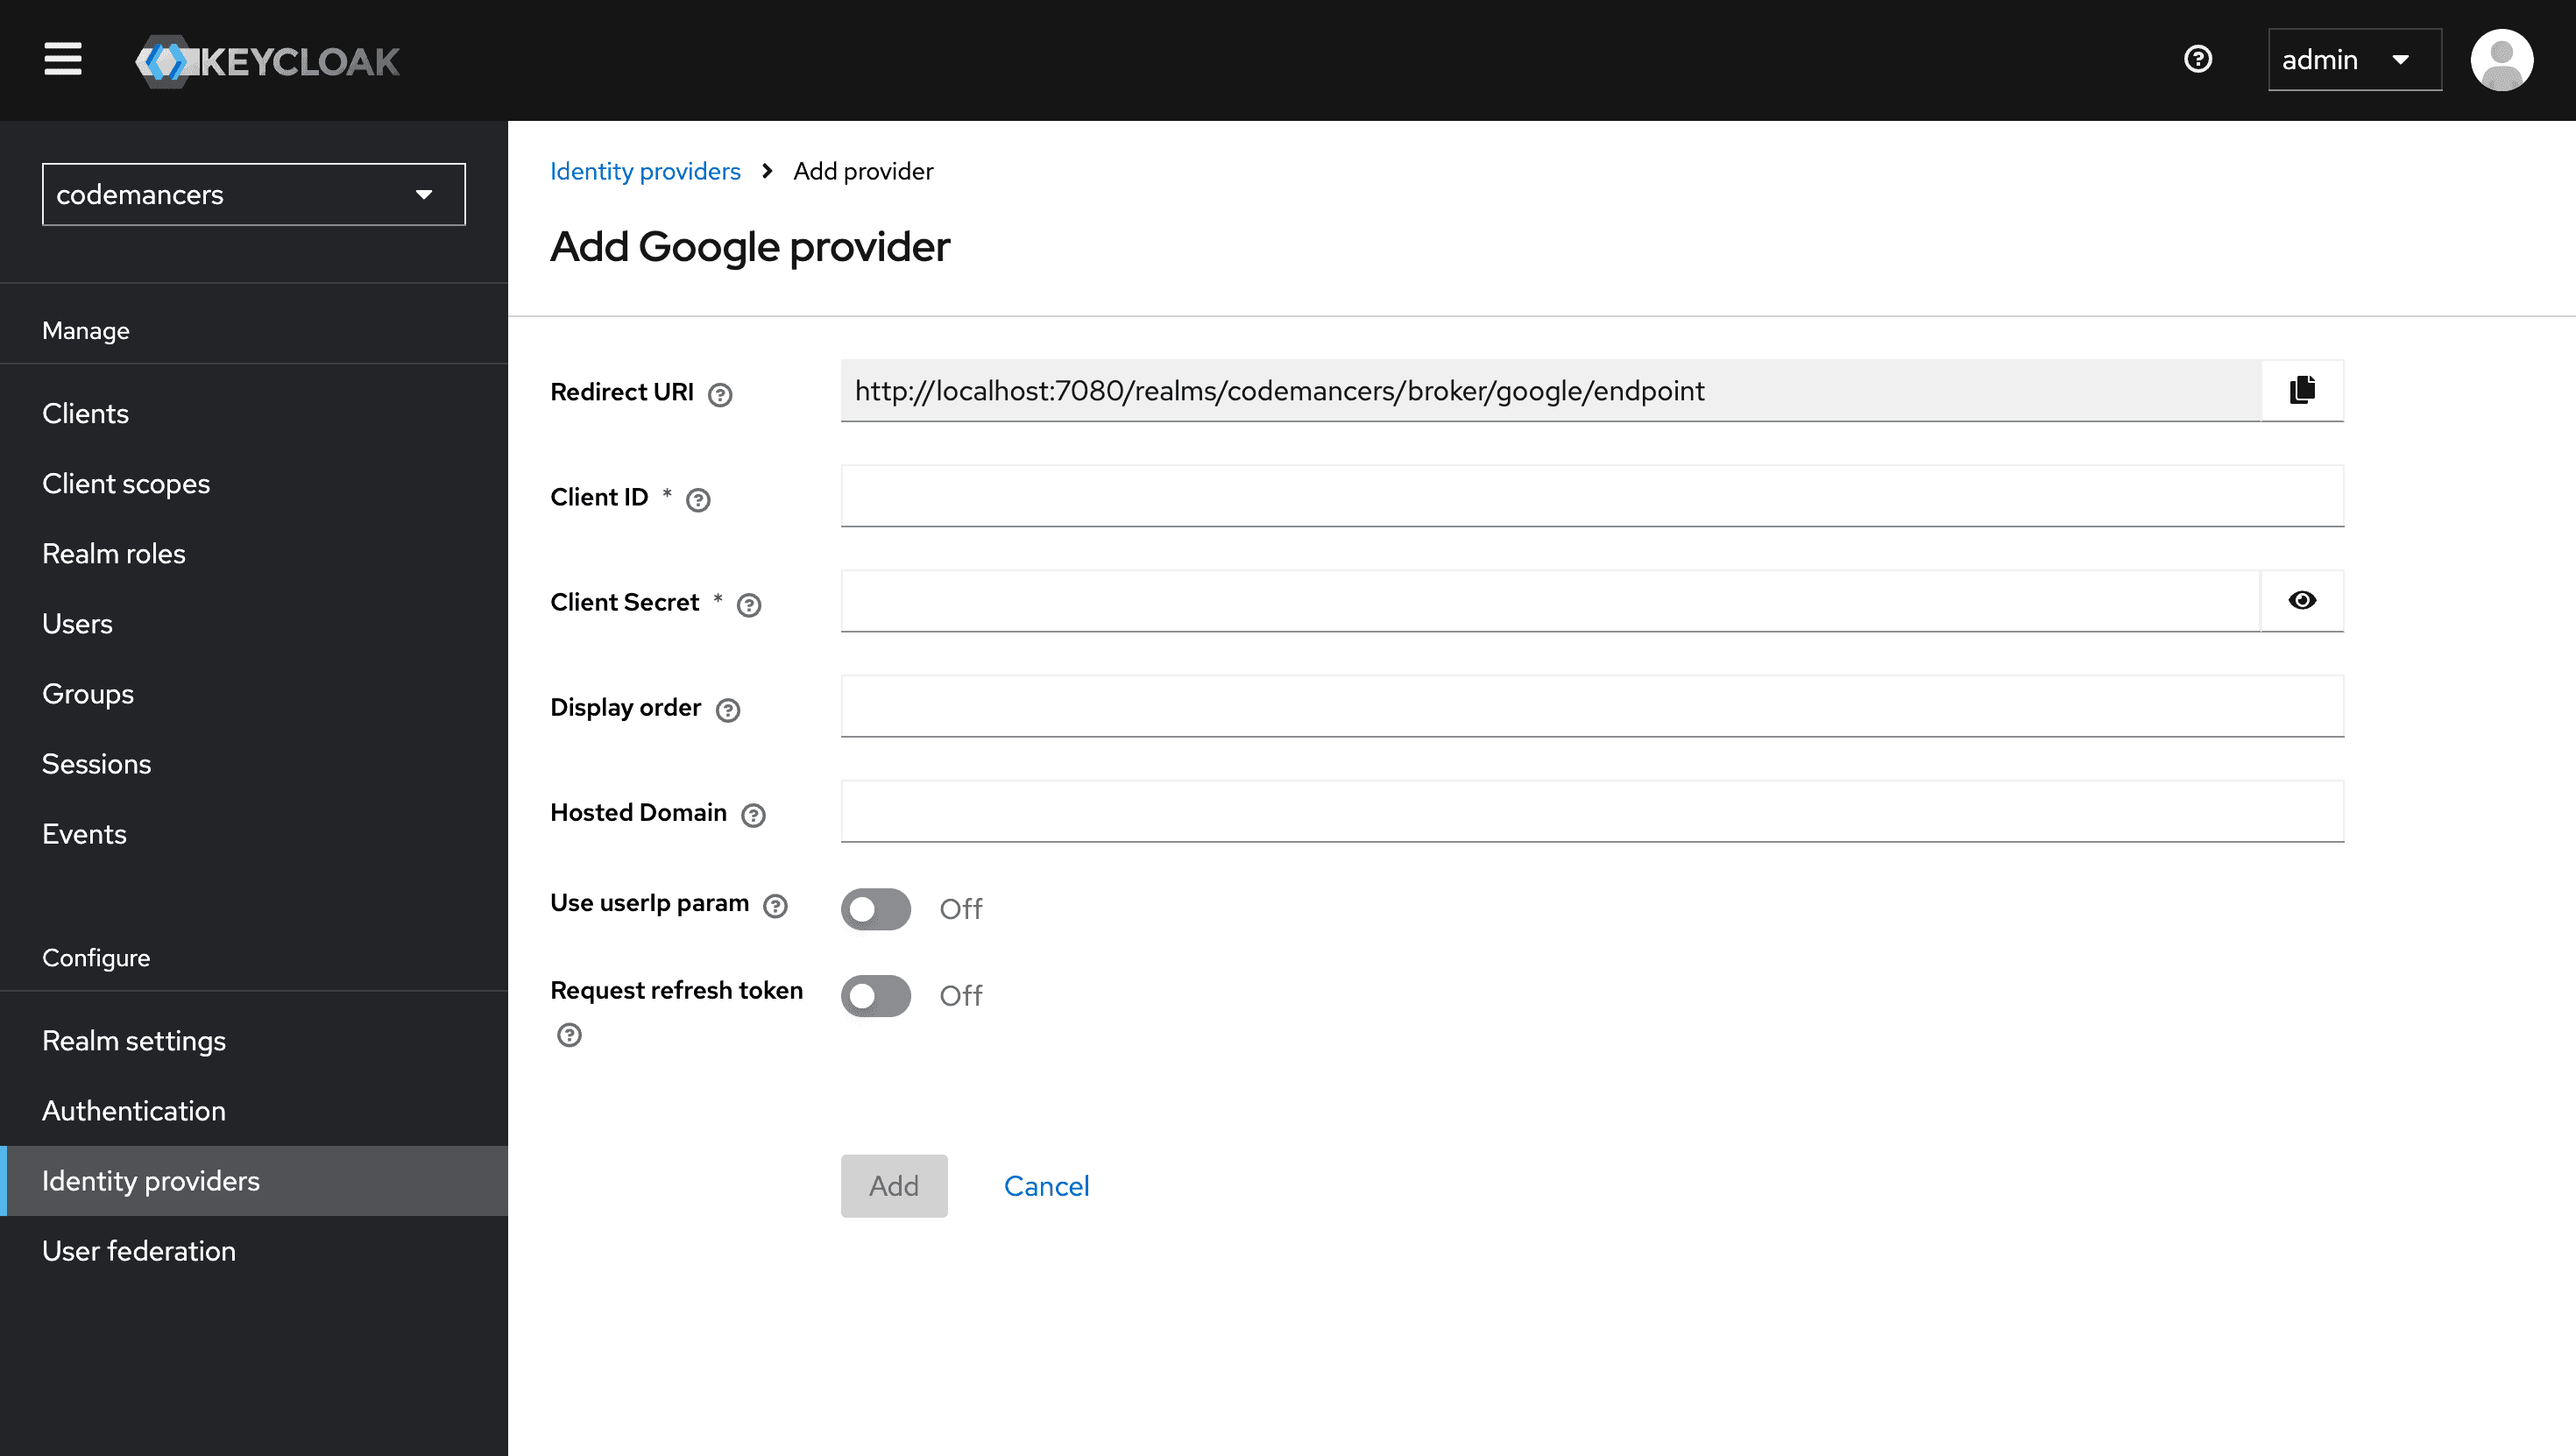
Here, paste the Client ID and Client Secret from the Google Cloud Console. One important step: copy the Redirect URI displayed here and add it to the Authorized redirect URIs in your Google Cloud configuration.
This ensures that Google knows where to send the authentication response.
Once set up correctly, you’ll see a confirmation screen indicating the provider has been added.
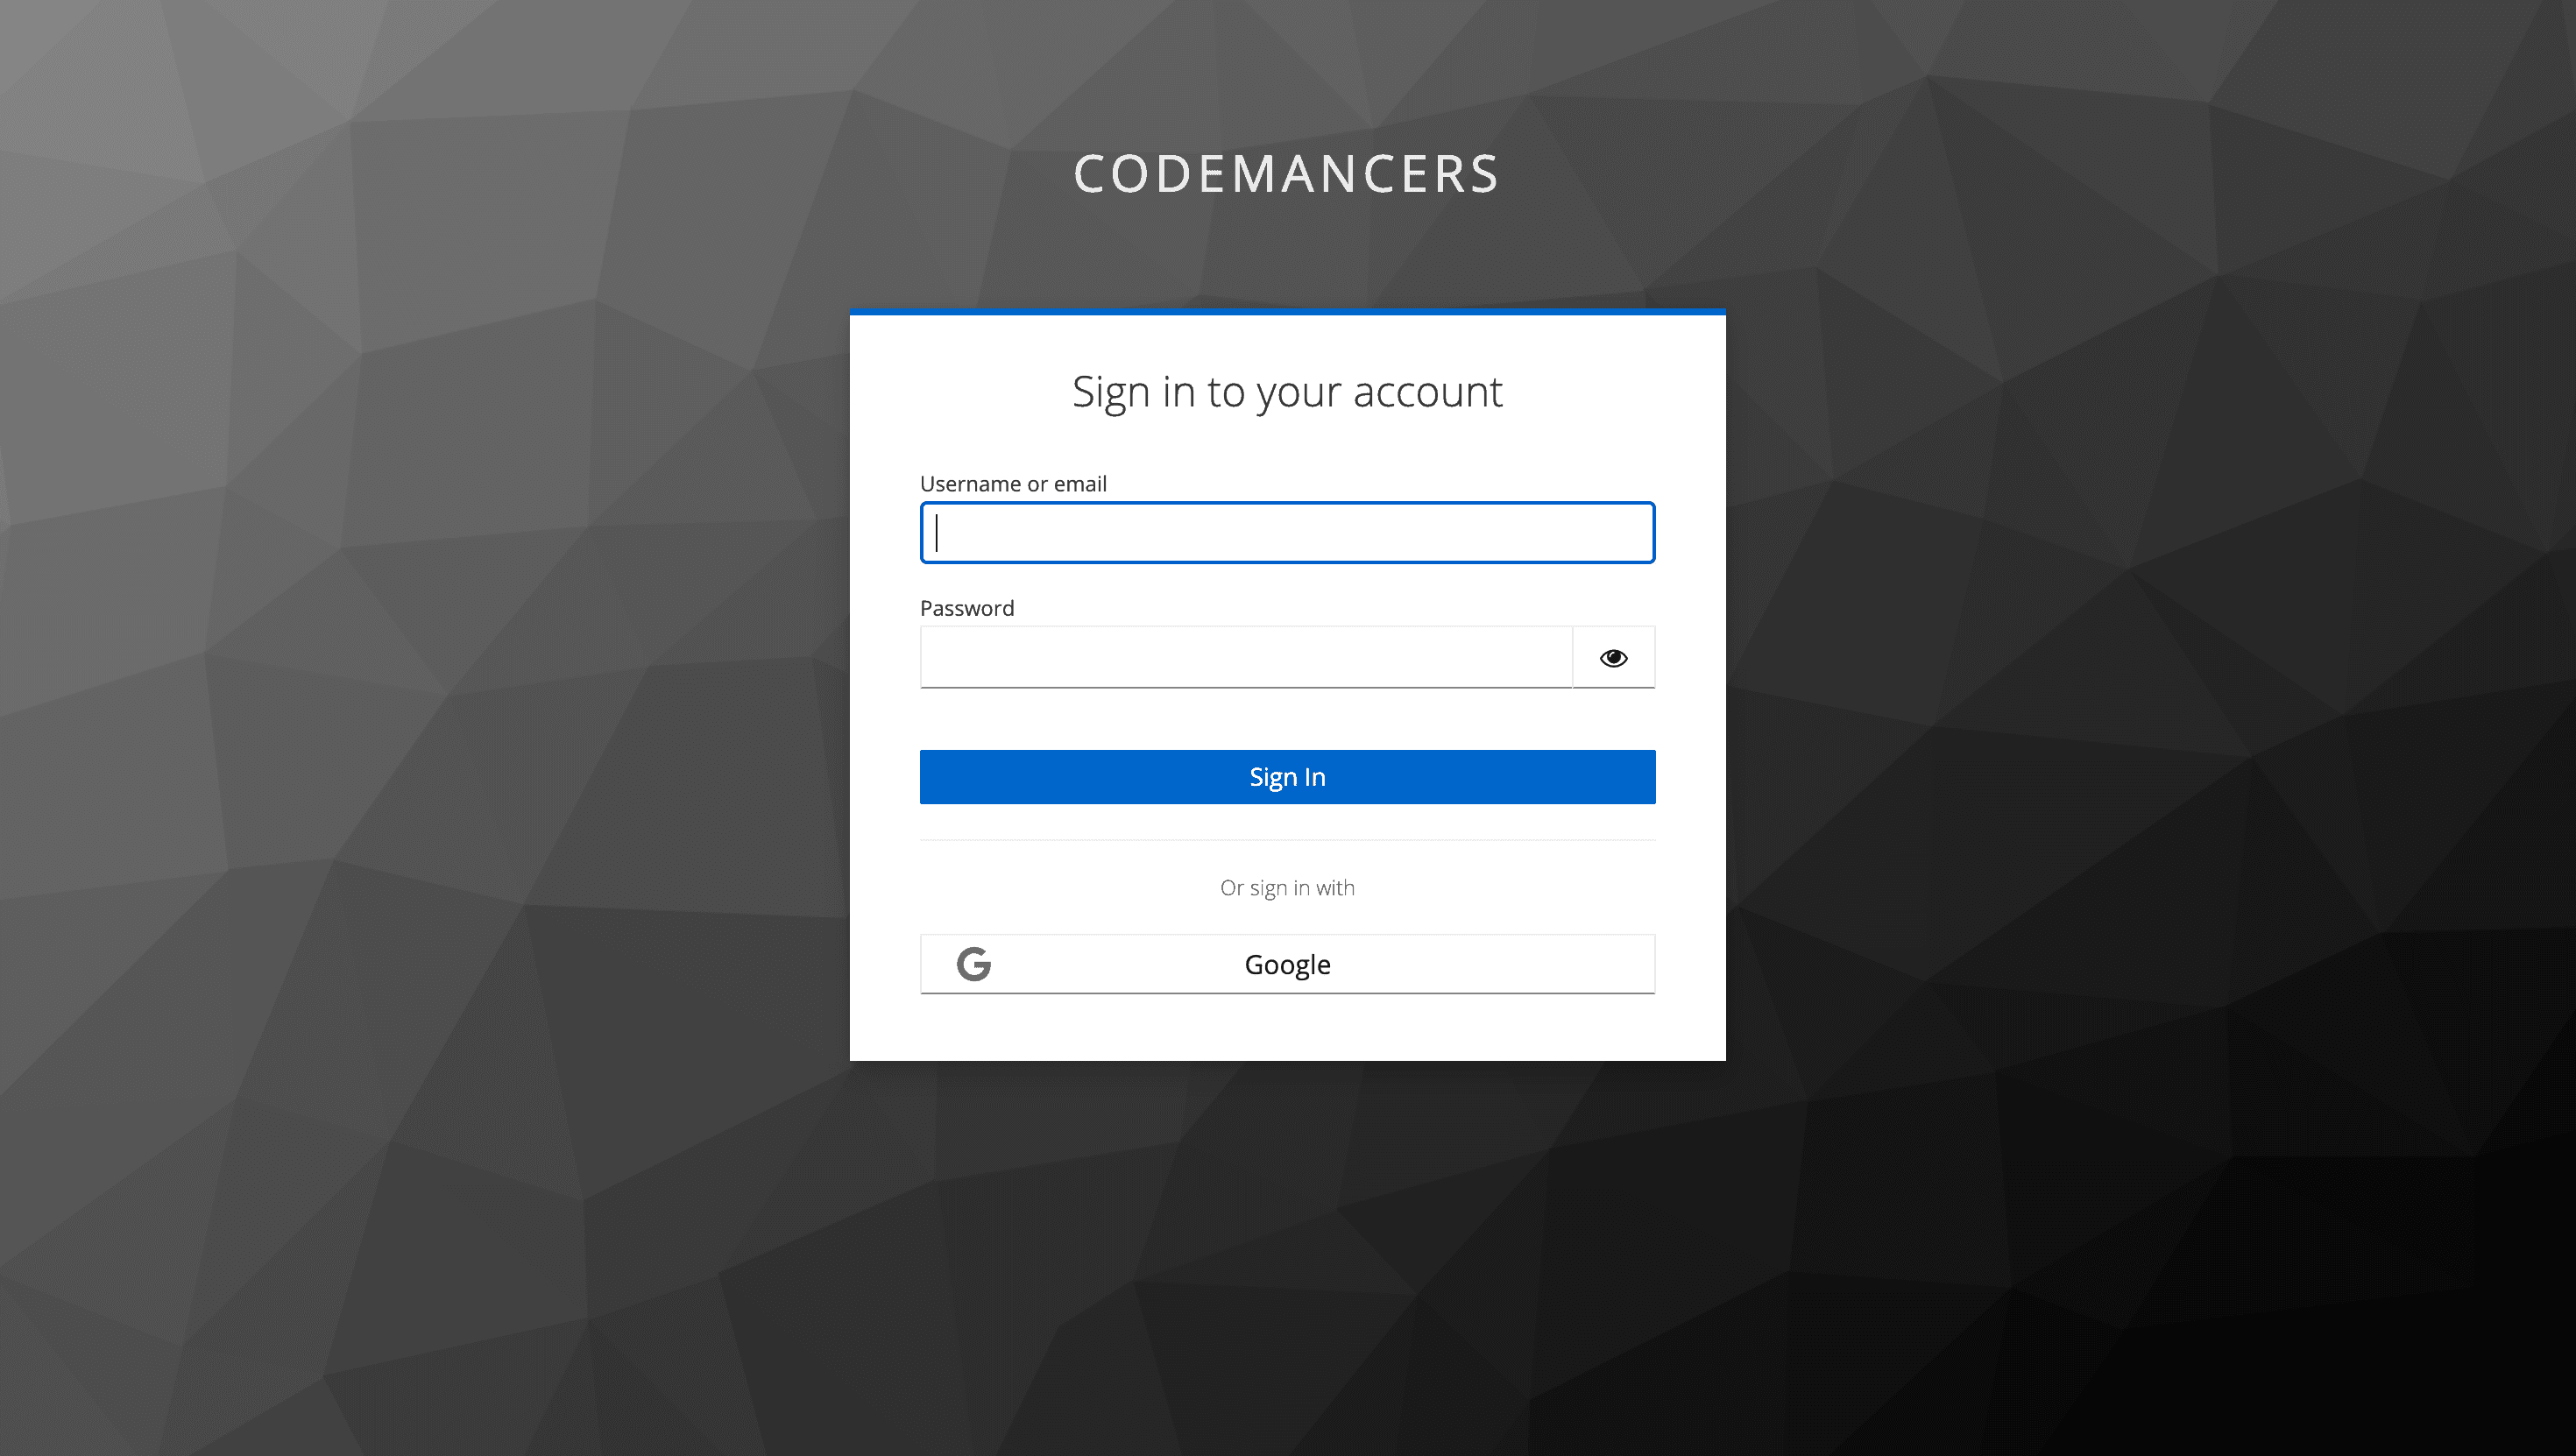
You can now test logging in via Google, and it should redirect you to the Google login page and back to your Keycloak realm after a successful sign-in.
Step 3: Set Google as the Default Identity Provider
By default, Keycloak provides options for both traditional login (username/password) and any social logins you’ve added. If you want users to only authenticate through Google, follow these steps:
Go to the Authentication section in Keycloak and select the Browser flow.
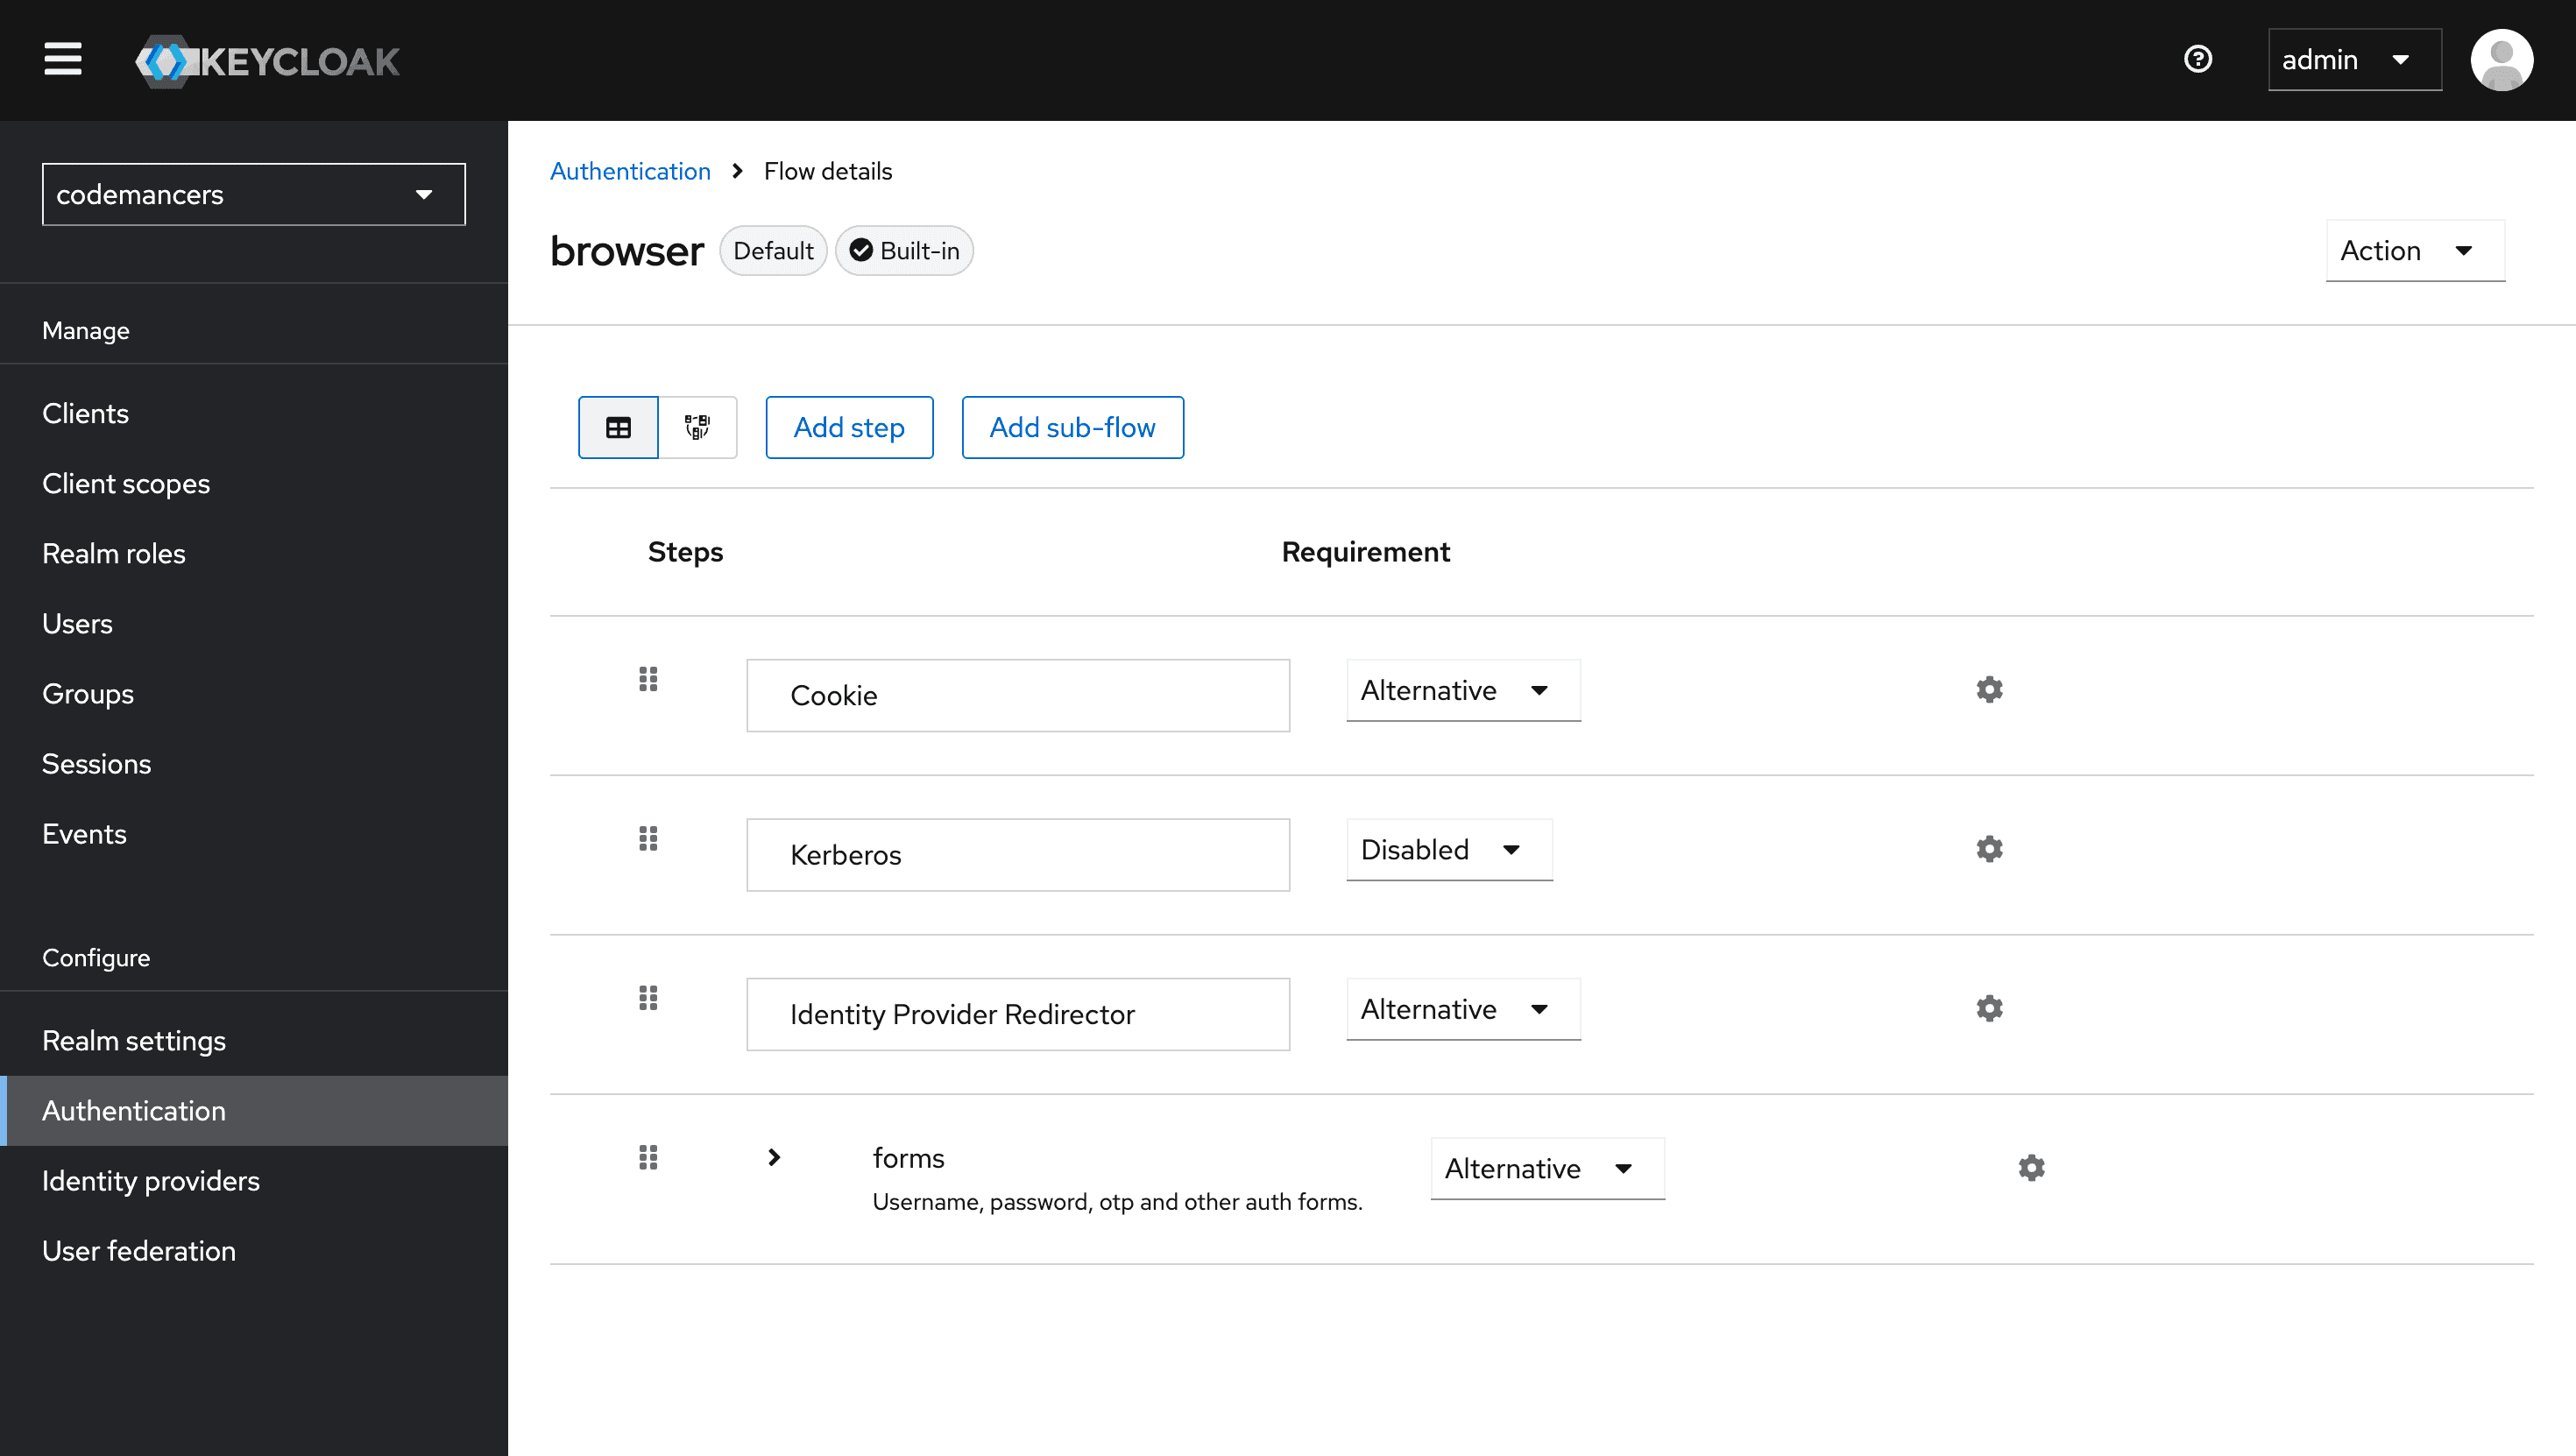
Next, locate the Identity Provider Redirector execution in the flow. Click the gear icon and select Config.
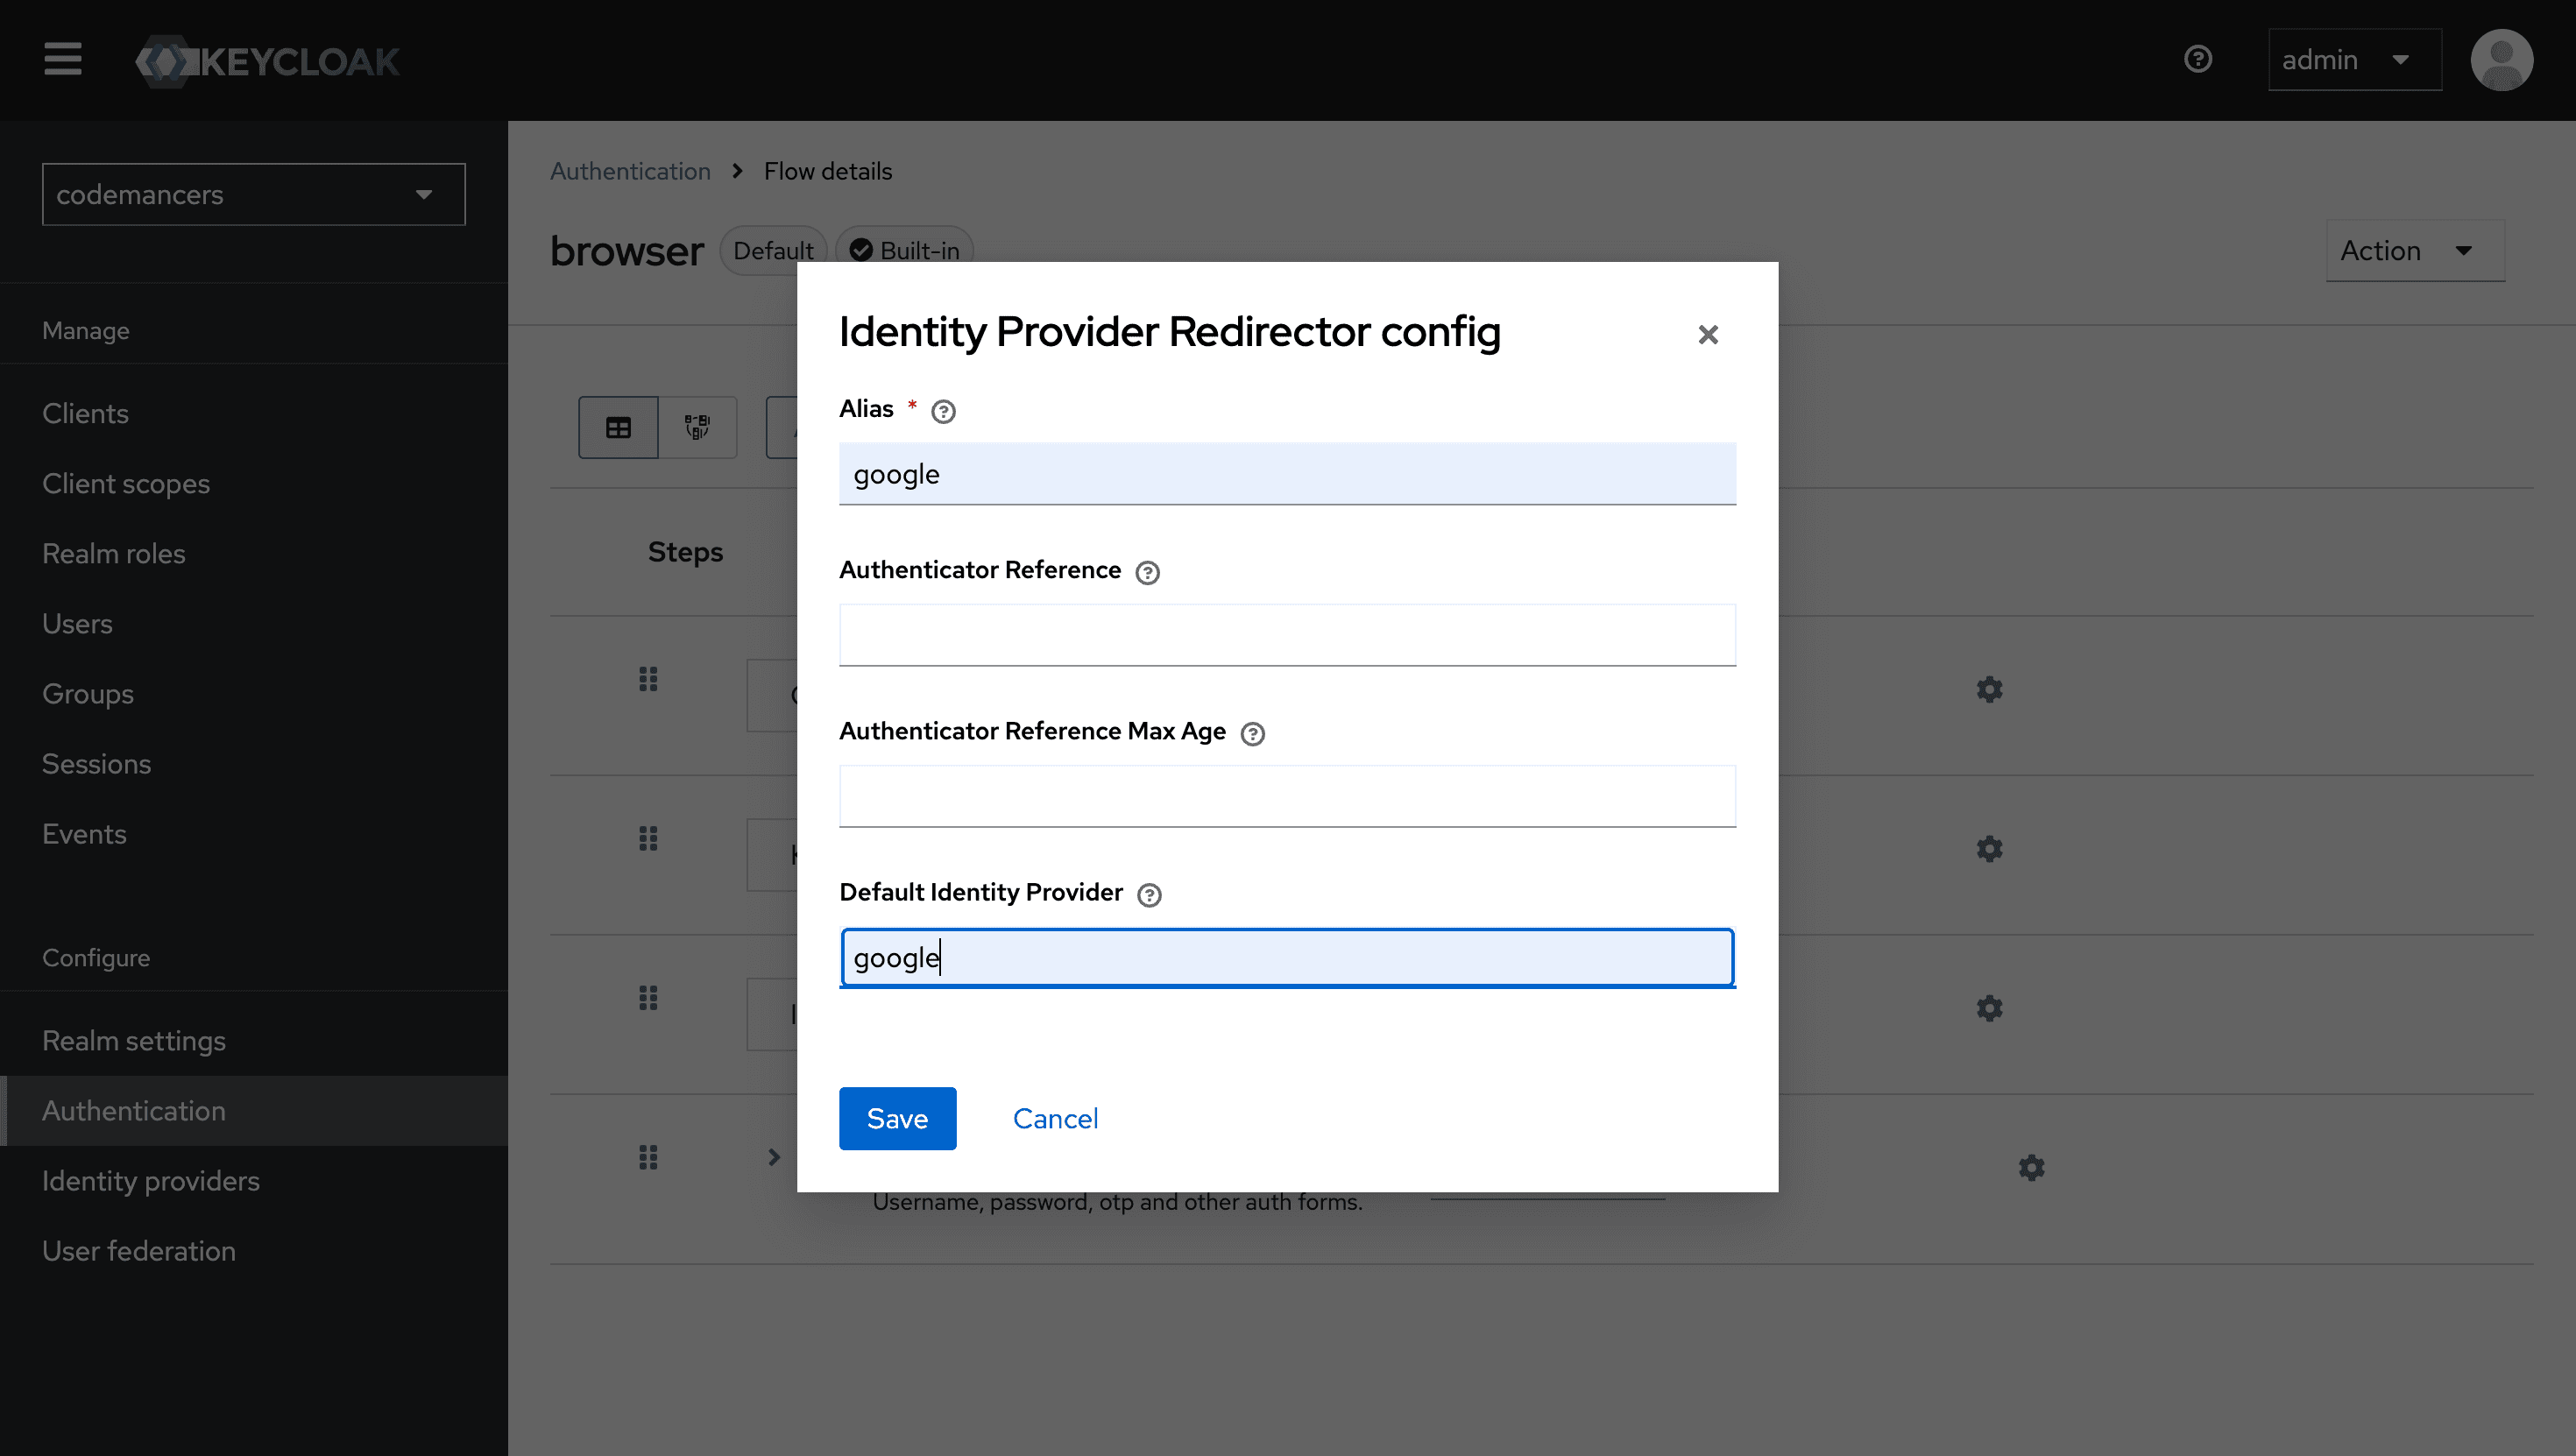
From the dropdown, select "Google" as the default identity provider. This ensures users are immediately redirected to the Google login page without seeing the default Keycloak login form.
Thanks for Reading! 🎉
If you've made it this far, congratulations on setting up Google authentication with Keycloak! You're now part of the cool kids club who know how to implement secure, modern authentication in their applications.
Remember, while this setup might seem like a small step, you're actually contributing to a better user experience and stronger security for your applications. That's definitely worth celebrating! 🚀
Happy coding, and may your authentication flows always be smooth and secure! 🔐✨